Micro-Tutor Uno – Arduino/Microcontroller coding and hardware activity
board with prototyping area.
Welcome to the world of microcontrollers! Our in-house designed and assembled tutoring board provides hands-on learning opportunities with an expandable range of
components and functionalities.
Featuring a number of in-built peripheral components for coding
experimentation, this board is an ideal platform for exploring the
exciting realm of microcontrollers.
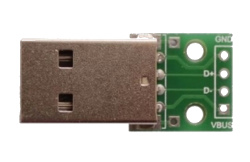
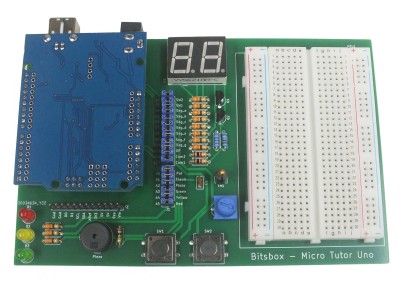
Removable Uno clone board and USB lead - available as an option.
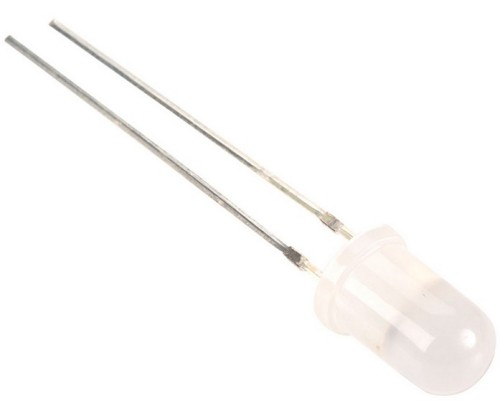
3 “traffic light” LEDs – red, yellow and green.
Piezo transducer.
2-digit 7-segment LED display.
A thermistor circuit providing a temperature dependent variable
voltage.
2 push-button switches.
Potentiometer providing a variable voltage to an ADC pin.
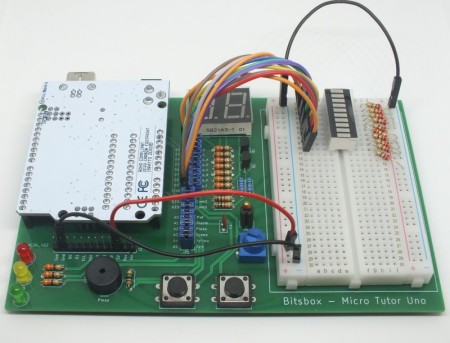
Prototyping breadboard area to connect additional hardware peripherals.
M/F 10cm jumper leads to connect port headers to the breadboard.
For visual feedback, red, yellow, and green LEDs allow you to experiment
with various lighting effects, program visual indicators and simulate
traffic control.
With the piezo transducer you can experiment with producing audible bleeps
in response to programmed events. You might also use it as a knock or
impact sensor.
With the 2-digit 7-segment LED display, you can learn to produce numerical values by
illuminating appropriate segments and learn how multiplexing and
persistence of vision work to reduce the number of i/o ports used by
the display.
Use the push-button switches to trigger actions within your program using
input polling and interrupts. Create interactive applications
responding to user input.
The thermistor allows you to measure temperature. Experiment with
temperature control or environmental monitoring and use in
conjunction with the 7-segment display to program a thermometer.
With the potentiometer you can simulate any peripheral generating a
variable voltage. You might display a voltage value or light leds in
response to the voltage reaching set trigger levels as you might find
in a battery monitor application.
The prototyping area breadboard lets you build add-on circuits and plug
in your own peripheral devices. Connect to the Uno by removing the
jumper appropriate to the port you wish to use and connect a male to
female jumper wire between the header pin closest to the Uno and the
breadboard.
There is also a link in the datasheet to a github repository of code snippets using the peripherals.
Our microcontroller tutoring board offers a comprehensive learning
experience, empowering you to delve into the exciting world of
microcontrollers and build your understanding of embedded systems.
Whether you're a beginner or an experienced enthusiast, this board is
the perfect companion for honing your skills and unlocking your
creativity.


